
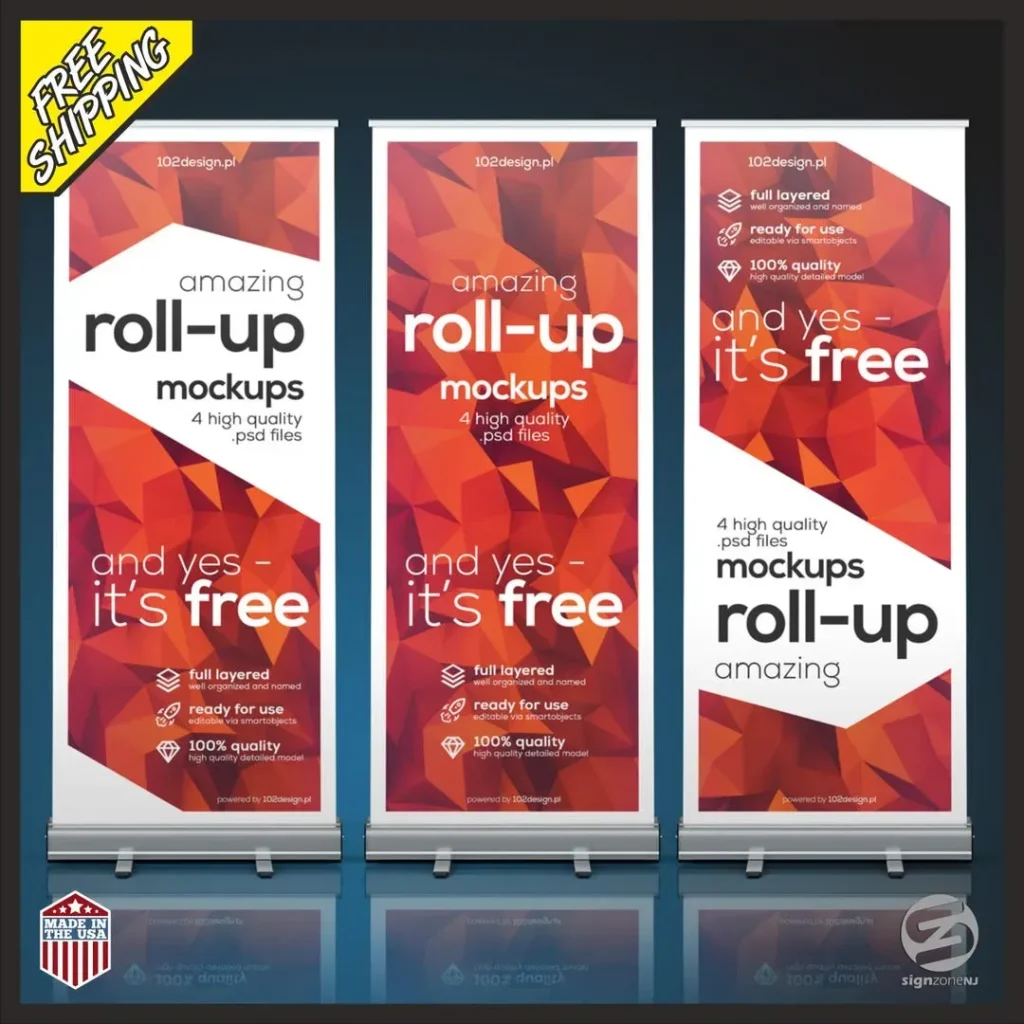
A custom roll-up banner is a compact, high-impact marketing tool that travels with your brand to conferences, trade shows, retail displays, and corporate events, offering a portable, ready-to-go solution that fits in overhead bins and hotel lobbies. Behind its sleek exterior lies a precisely choreographed process that begins with a clear brief and ends with a printed product built for durability, color fidelity, and easy setup under studio lighting and exhibition hall conditions. From concept to print, roll-up banner printing plays a pivotal role in preserving color accuracy and legibility across busy booth environments, ensuring legible headlines, clean images, and a strong call to action even from several meters away. Design, file preparation, proofing, and finishing are all steps that ensure the final banner communicates quickly and looks professional on the booth floor, while also matching brand typography, color systems, and approved imagery across multiple events. Whether you’re commissioning a single banner or building a recurring display program, understanding this workflow helps you achieve consistent, on-brand results that optimize budget, lead generation, and overall impact at trade shows and in retail environments.
Viewed as a compact, portable display, this kind of signage is a versatile asset for events, helping brands communicate quickly with a clear message. In practice, teams design grab-and-go graphics for a pull-up banner design, ensuring legibility from a distance and a single focal point that reinforces the brand. Other terms you might hear include banner stand graphics, booth signage, and pop-up displays, all referring to a similar printed panel that can be rolled and mounted at the venue. Choosing the right display size, material, and finish affects how your artwork performs under venue lighting and foot traffic, guiding decisions about durability and transportability. By aligning production specs with event goals, marketers can deploy cohesive, on-brand visuals across multiple locations while maintaining consistency in color, typography, and messaging.
1. Concept and Brief for a Custom Roll-Up Banner Campaign
A strong concept and a well-defined brief are the foundation of effective banner marketing. Begin by clarifying the event or environment where the banner will appear, the core message you want to convey, and the action you want viewers to take. With a focus on a custom roll-up banner, you can align the creative with practical goals—whether to raise awareness, highlight a product, or drive leads through a QR code or URL. A precise brief guides decisions on color, typography, and layout, ensuring your message translates smoothly from screen to print and remains legible in busy trade show settings.
From the outset, emphasize the relationship between concept and print readiness. A detailed brief helps you select the right banner sizes, establish a clear hierarchy, and set realistic expectations for the print process, color accuracy, and durability. This planning stage informs your choice of materials and the specific roll-up banner printing workflow, so the final banner communicates quickly and consistently with your brand identity.
2. Pull-Up Banner Design: Crafting Readable Visuals for Distance
Designing for pull-up banner displays means prioritizing readability and impact at a distance. The design should respect brand guidelines while delivering a concise message that can be grasped in seconds. A strong headline, a single focal point, and a straightforward call to action work together to capture attention as viewers walk the booth. In this stage, you’ll collaborate with designers to choose typography, color palettes, and imagery that remain legible across the print surface, ensuring the final composition looks stunning on screen and prints crisply in your chosen banner sizes.
A well-executed pull-up banner design uses a clear visual hierarchy, generous line spacing, and high-contrast color schemes to survive diverse lighting environments. By aligning the design with your brand voice and ensuring that key elements—the logo, headline, and CTA—read prominently from several meters away, you create a banner that communicates quickly and effectively, whether it’s used for a single event or repeated across a series of trade show banners.
3. Materials and Print Options for Roll-Up Banner Printing
Material choice directly affects durability, weight, and image fidelity. Roll-up banner printing relies on media that can feed smoothly through stands while remaining flexible enough to roll for transport. Common options include vinyl-coated fabrics and film-based substrates, with PVC-free alternatives that offer excellent opacity and color reproduction. Digital printing is the prevalent method for roll-up banners, delivering fast turnaround and consistent color for short runs or frequent refreshes in custom banner printing programs.
When selecting materials, consider the intended environment and travel frequency. Indoor banners benefit from lightweight, durable substrates, while outdoor or high-traffic venues may demand coatings that resist scuffing. Pair the material with the printer’s capabilities for edge sharpness and color richness to ensure your banner printing meets expectations from the first proof to the final install at a trade show or conference.
4. Banner Sizes and Layout: Adapting to Booth Space
Choosing the right banner sizes is crucial to fit booth space and viewing distance. Standard options like 85×200 cm and 100×200 cm are common for roll-up banners, but many projects require custom sizes to accommodate unique stands or booth layouts. When planning sizes, evaluate sightlines, the amount of copy, and how the banner will complement other marketing assets in your display. A printer can help you select a size that preserves legibility and maximizes impact without overwhelming the booth.
Layout plays a pivotal role in readability and aesthetic balance. Emphasize a bold headline, limited copy, and a visible call to action, with high-contrast text on a clean background. If imagery is used, choose a single strong visual that supports the message rather than cluttering the banner. Proper layout ensures that your banner remains legible at various viewing angles and distances, whether it’s used for a single event or part of a broader trade show banner printing program.
5. File Preparation, Proofing, and Color Management for Consistent Print Quality
A print-ready file is the backbone of predictable results in roll-up banner printing. Start with a file that matches the selected size and includes safe margins and bleeds (typically 2–3 mm) to avoid white edges after trimming. Use high resolution (150–300 dpi at actual size) and provide vector logos (AI, EPS, or PDF) to preserve crisp edges when scaled. For color-critical projects, ensure CMYK conversion is handled properly and request soft proofs or physical proofs to verify color accuracy before the full run.
Color management is essential when translating screen designs to print. Differences in lighting and substrates can shift hues, so discuss Pantone matching options or color-managed workflows with your printer. The goal is consistent color reproduction across orders, especially when multiple banners share a common brand palette. A thorough proofing stage helps catch misalignments and ensures typography remains legible, producing a final product that aligns with your brand identity.
6. Finishing, Packaging, and On-Site Setup for Trade Show Success
After printing, finishing adds durability and a polished look. Common steps include lamination or protective coatings to guard against scuffs, followed by cutting to size and assembling the roll mechanism, base, and support pole. Proper finishing helps preserve color vibrancy and edge integrity during repeated rollouts. Packaging considerations, such as a protective carry bag, are important for travel and storage, especially for frequent attendees who use multiple banners across events.
On-site setup should be fast and straightforward to keep booth traffic smooth. The banner is typically mounted by a single person, with attention to tautness and alignment to avoid wrinkles. Place the banner at eye level and ensure ample space around it to prevent visual clutter. For banners that include QR codes, NFC tags, or other interactive elements, position them for easy scanning by attendees, and coordinate with your booth design to create a cohesive, effective display for trade show banner printing campaigns.
Frequently Asked Questions
What is a custom roll-up banner and why is it ideal for trade shows?
A custom roll-up banner is a portable, self-contained display that rolls into a compact base for easy transport. For trade show banner printing, its quick setup, durable construction, and strong visuals make it a high-impact choice that travels well with your brand.
How does roll-up banner printing ensure color accuracy for a custom roll-up banner?
Color accuracy in roll-up banner printing starts with a true print-ready file prepared in CMYK at the final size, including bleed. Printers use soft proofs (and physical proofs when possible) and color-managed workflows, with Pantone matching as an option to reduce screen-to-print color shifts.
What banner sizes are available for a custom roll-up banner and how should I choose the right one?
Typical banner sizes for a custom roll-up banner include 85×200 cm and 100×200 cm, with custom sizes available to fit specific stands. Choose the size based on viewing distance, booth footprint, and copy load, and work with your printer to preserve legibility at a glance.
What file preparation steps are required for a custom roll-up banner printing project?
File preparation for a custom roll-up banner printing project involves delivering a print-ready file that matches final dimensions, includes 2–3 mm bleed, and is at 150–300 dpi in CMYK. Supply vector assets (AI, EPS, or PDF) for logos to keep edges crisp, and consider soft proofs to verify color and layout.
How should I approach pull-up banner design for maximum impact?
Pull-up banner design should prioritize readability and impact: use a bold headline legible from several meters, a concise subheading, a single focal image, and a clear call to action. Limit copy, use high-contrast colors, and align typography with your brand guidelines for quick recognition at events.
What finishing, packaging, and on-site setup considerations come with a custom roll-up banner?
Finishing and packaging for a custom roll-up banner typically include lamination or protective coating, trimming to size, and attaching the print to the roll mechanism. Pack it in a carry bag to protect during travel, and set up quickly at the venue by a single person, ensuring the banner is at eye level for maximum visibility.
| Aspect | Key Points | Practical Takeaways |
|---|---|---|
| Concept to Brief | Define purpose, event context, core message, and intended action; set clear objectives to guide design decisions. | Start with a strong brief to guide color, typography, and layout that translate from screen to print. |
| Designing for Impact | Brand-aligned design, readability from distance, fixed banner height (about 200 cm), concise copy, bold headline, focal point; strong visual hierarchy. | Collaborate on fonts, color palettes, and imagery; ensure legibility at typical viewing distances. |
| Materials & Print Options | Durable, lightweight substrates; PVC-free or polyester; digital printing for speed and color richness. | Choose vinyl-coated fabrics or film-based substrates; plan sizes (85×200 cm, 100×200 cm); ensure opacity and transportability. |
| Banner Sizes | Standard sizes include 85×200 cm and 100×200 cm; custom sizes are possible. | Plan size based on viewing distance and layout; coordinate with printer. |
| File Preparation | Print-ready files with safe margins and bleed (2–3 mm); CMYK, 150–300 dpi; provide vector logos (AI, EPS, PDF). | Prepare for color management; request soft or physical proofs; Pantone matching if needed. |
| Layout & Copy | Less is more: bold headline, concise subheading, visible CTA; high contrast; consider accessibility. | Limit lines to avoid crowding; ensure readability from distance. |
| Proofing, QC, Color Accuracy | Soft proofs and, where possible, physical proofs; verify legibility, sharp imagery, and color accuracy. | Monitor color consistency during production; use a color-managed workflow. |
| Finishing & Packaging | Lamination or coating for protection; cut to size; attach printed film to roll mechanism; include carry bag. | Durable finishes aid repeated use and protection during transit. |
| Sizing, Stands, and Setup at the Event | Ensure size fits stand and space; coordinate with multi-banner campaigns; place at eye level. | Setup is fast and doable by one person; position QR codes or interactive elements for easy scanning. |
| Common Pitfalls & Best Practices | Too much text, poor color contrast, or clutter; stick to one primary benefit, one strong image, and one clear CTA; use templates. | Test readability from distance; maintain brand consistency across campaigns. |
| The Value of a Well-Executed Custom Roll-Up Banner | Investing in a high-quality banner boosts brand recall and leads; aligns with identity and is durable. | A well-crafted banner performs across venues and campaigns, serving as a portable marketing asset. |
Summary
Conclusion: The [custom roll-up banner] is a compact, high-impact marketing tool that communicates your message quickly and reinforces brand identity at events. From concept to print, the process emphasizes clarity, design, color management, and durability, ensuring consistent performance across venues. With strong briefs, proper materials, precise file prep, and careful proofing, you achieve a durable, portable asset that elevates your presence.