
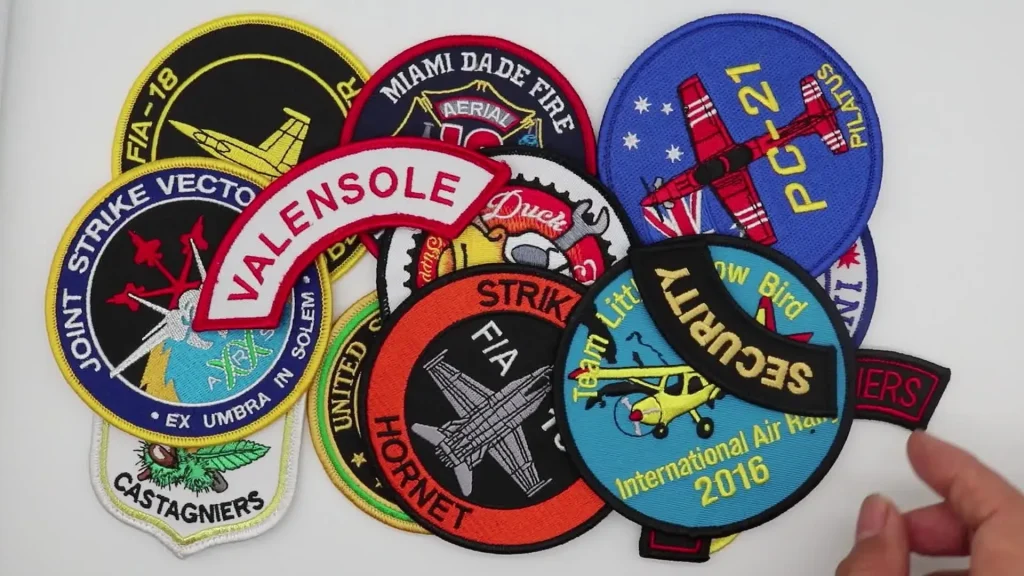
Custom Embroidered Patches have surged in popularity as a powerful branding and personalization tool. They bring a simple logo or emblem to life on apparel, bags, caps, and uniforms, creating a tangible, durable representation of a brand or team. If you’ve ever wondered how a flat logo on a computer file becomes a high-quality, stitched patch, you’re in the right place. This guide to Custom Embroidered Patches walks you through the logo to patch process, from concept to finished product, with practical tips to ensure your patches look great, wear well, and stay true to your design. Careful material choices support branding patches and durable fabric patches that stand up to washing and wear.
In other words, these stitched emblems translate a symbol into wearable fabric badges that enhance identity across uniforms, gear, and merchandise. Think of them as branding patches, embroidered badges, or cloth insignias that carry the same message while offering durability and easy attachment. From an LSI perspective, related terms like patch production steps, embroidered patch design tips, and branding patches help connect the topic to broader searches. Ultimately, the core idea is clear: a well-crafted embroidered patch conveys brand values at a glance and endures through countless wear cycles.
From Logo to Patch: The logo to patch process explained
Understanding the journey from a digital logo to a stitched patch begins with the logo to patch process. A clean vector file forms the basis for precise embroidery, while careful decisions about scale margins and color translate the brand into thread and fabric.
This stage sets the foundation for the rest of the project, including backing options and patch production steps. When done well, the final patch preserves legibility, color fidelity, and durability in durable fabric patches throughout wash and wear.
Embroidered Patch Design Tips for Clarity and Color Fidelity
These embroidered patch design tips help maximize legibility and impact. By simplifying complex logos, limiting colors to a solid palette, and choosing borders that reinforce the shape, you ensure a strong patch at any size.
Consider scale and type to maintain contrast and legibility across applications. Planning edge finish, stitch density, and color order during the design phase supports consistent results in embroidery projects.
Backing and Materials: Choosing Durable Fabric Patches for Longevity
Backing and material selection drive durability and user experience. Iron on, sew on, or Velcro backings each fit different uses and care routines for durable fabric patches.
Fabrics such as twill and felt offer distinct textures and strengths. Border options like Merrowed edges or laser cut finishes influence edge durability and the overall appearance of the patch.
The Patch Production Steps: From Digitizing to Finishing
The patch production steps include digitizing the artwork, selecting stitch types, and creating the backing. Working with a skilled digitizer helps optimize underlay, stitch direction, and color stops to balance durability with appearance.
After stitching, finishing and quality checks ensure the patch meets size, color, and edge finish targets. Clear communication with the vendor about the color palette and patch size reduces rework and waste in the production process.
Branding Patches and Custom Embroidered Patches: Elevate Your Brand Identity
Branding patches offer a tangible way to extend your identity across uniforms, bags, and apparel. Custom Embroidered Patches deliver a tactile presence that reinforces brand recognition at every touch point.
A consistent patch design across product lines helps build loyalty and visibility, turning garments into portable ambassadors. When you align patch style, color, and fabric with your brand guidelines, you strengthen overall branding impact.
Care and Longevity: Keeping Durable Fabric Patches Looking Great
Proper care extends the life of patches and preserves color and texture. Provide washing guidelines and recommend wearing practices to minimize wear on patches.
Regular inspection of backing integrity and edge finishes helps catch wear before failures occur. Following care guidelines ensures patches stay vibrant and durable through many washes on durable fabric patches.
Frequently Asked Questions
For Custom Embroidered Patches, how does the logo to patch process influence the final design?
The logo to patch process starts with a clean vector logo and a patch shape that fits the artwork. A skilled digitizer creates stitch paths, optimizing underlay, satin outlines, and color order to balance detail with fabric stability. Backing options (iron-on, sew-on, Velcro) and a finished border influence wear and care. The final patch goes through patch production steps—embroidery, trimming, backing application, and quality checks—to ensure color fidelity and crisp edges.
What are some embroidered patch design tips for creating effective branding patches?
Key embroidered patch design tips include simplifying complex logos into solid colors, using high contrast, and choosing a patch shape that fits the artwork. Limiting the color palette improves stitch efficiency and readability, while thoughtful borders and text treatment boost legibility on branding patches, especially at small sizes.
What are the patch production steps for Custom Embroidered Patches?
Patch production steps for Custom Embroidered Patches typically cover concept and artwork prep, digitizing, color planning, embroidery, trimming, backing application, and a final quality check to ensure size, color, and edge finish meet expectations.
How do backing choices and fabric selection affect durability for branding patches?
Backing type and fabric selection drive durability. Sew-on or Velcro-backed patches are ideal for frequent washing, while iron-on patches offer quick application. Fabrics like twill or felt, plus a Merrow border, influence edge finish and longevity of branding patches on durable fabric patches.
Why is digitizing important for Custom Embroidered Patches, and how does it impact edge quality and color fidelity?
Digitizing is essential for Custom Embroidered Patches. It configures stitch density, underlay, satin vs fill stitches, and color stops, which determine edge crispness and color fidelity. A skilled digitizer translates your logo into efficient stitch paths to minimize distortion and maximize the quality of branding patches.
What care guidelines help preserve durable fabric patches used in branding patches?
Care guidelines include turning garments inside out before washing, using mild detergents, avoiding high heat, and air drying when possible. Following vendor care instructions helps keep durable fabric patches looking great on branding patches and reduces edge wear or backing failure.
| Key Point | Summary |
|---|---|
| Definition | A patch is a stitched replica of a logo or design that is durable, washable, and wearable on apparel, bags, caps, and uniforms. |
| Common Patch Types | Sew-on, iron-on, and Velcro-backed patches; sewing or Velcro options can be more durable or interchangeable. |
| Backing Considerations | Backing affects application, care, and longevity (iron-on, sew-on, Velcro); the right backing matches usage and fabrics. |
| Define Purpose & Audience | Clarify who will wear patches to drive decisions on size, color, backing, placement, and budget. |
| Logo Preparation | Convert logos to vector when possible; simplify details; ensure contrast and legibility for embroidery. |
| Digitizing Basics | Underlay stitches, stitch direction, satin vs fill stitches, color stops; balance density with fabric stability. |
| Materials & Construction | Fabrics like twill or felt; borders (Merrow) or laser/heat-cut edges; quality threads; backing stability. |
| Size & Shape | Choose shapes that fit design and ensure legibility; avoid overly intricate details in small patches. |
| Sample & Production | Request a physical sample to verify color, density, edge finish, and fit before large production. |
| Care & Longevity | Provide washing care guidance; turn garments inside out; avoid high heat to protect patches. |
| Budgeting & Costs | Costs vary by size, colors, backing, and quantity; larger runs reduce per-patch cost. |
| Real-world Applications | Used on team apparel, corporate gifts, events, and fashion lines to reinforce branding and create cohesive identity. |