
Designing Your Own Embroidered Patches invites you to turn a simple thread project into wearable storytelling, blending creativity with practical craft. This guide explores how to move from concept to finished patch with confidence, whether you’re decorating a backpack, denim jacket, or tote, and it covers patch making tools and supplies and embroidery patch design ideas. From choosing stabilizers, fabrics, and backing to selecting stitches and edge finishes, you’ll see how design choices impact durability, color, and personality. You’ll also discover how DIY embroidered patches can scale from a weekend hobby to a small business, with insights into mastering machine embroidery tips and achieving professional results. With practical steps and creative inspiration, this introduction aims to spark your confidence to begin your patch-making journey toward designing trendy embroidered patches.
Viewed differently, this craft is about creating personalized fabric badges and wearable art that narrates a story through careful stitching. Ideas like embroidery patch design ideas and customization options let you tailor backpacks, jeans, and bags with a distinctive branding touch. Your toolkit—the patch making tools and supplies—will guide you from sketches to production-ready fabric adornments. Whether you aim for a small-batch collection or a one-off accessory, mastering machine embroidery tips and durable edge finishes yields a contemporary, trendy embroidered patches aesthetic.
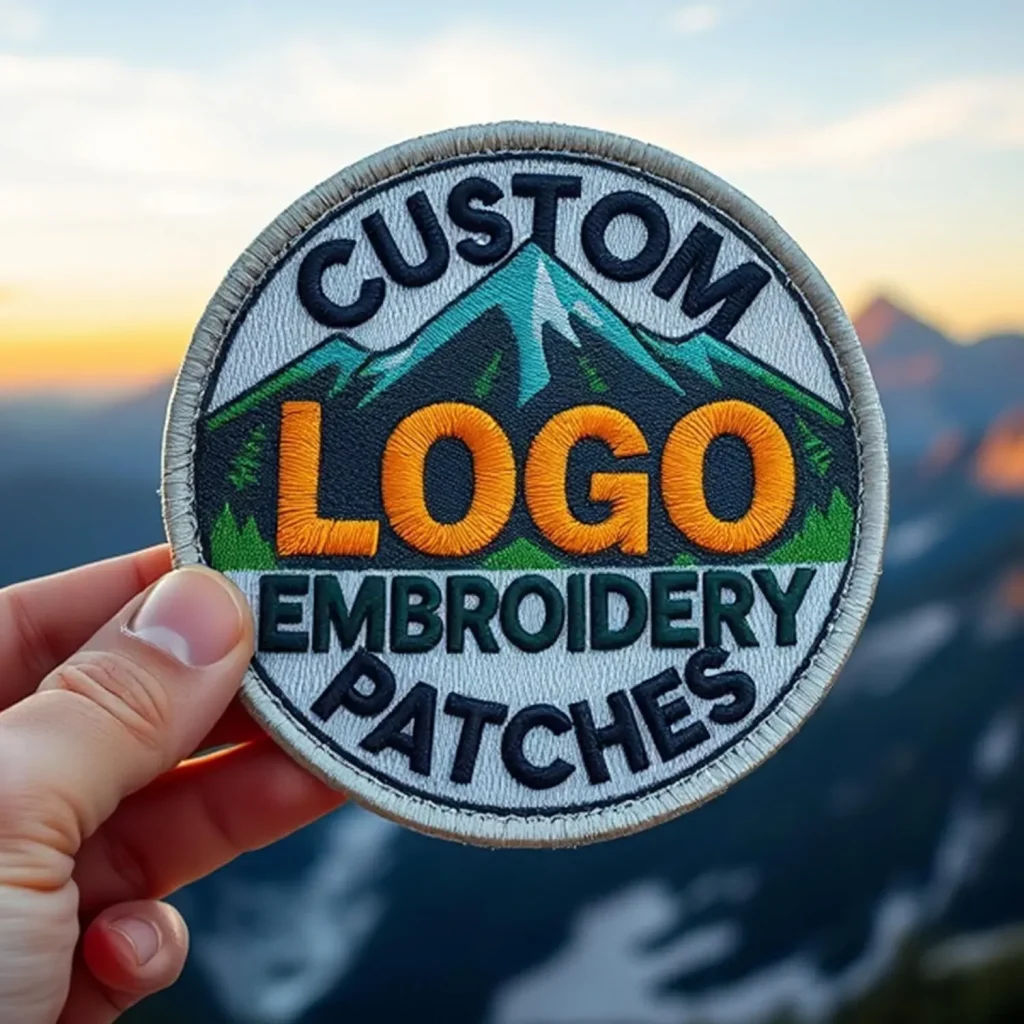
Designing Your Own Embroidered Patches: From Concept to Creation
Designing Your Own Embroidered Patches blends creativity with practical craft, turning ideas into wearable art and even small-scale business opportunities. Patches become a portable canvas for storytelling through color, texture, and shape, whether you’re personalizing a backpack, denim jacket, or tote bag. This process benefits from a clear plan that moves from concept to finished patch with confidence, using the tools and techniques you’ll learn along the way.
In practice, you can treat DIY embroidered patches as both a weekend project and a scalable product line. By starting with a strong concept, testing ideas, and iterating on feedback, you build a foundation for unique branding and personal expression. The journey emphasizes not just stitching, but choosing the right materials, mastering digitizing basics, and shaping designs that translate well to machine embroidery and hand-stitching alike.
Choosing the Right Patch-Making Tools and Supplies for Your Project
A successful patch starts with the right patch making tools and supplies. Selecting stabilizers, fabrics, hoops, threads, and cutting tools tailored to your patch size and fabric ensures clean finishes and durable results. Starting with a basic setup helps you master the essentials before expanding to more specialized gear.
From tear-away to cut-away stabilizers, the backing choice, and edge finishes like merrowed borders, each component influences how the patch holds up through washing and wear. By experimenting with different backing options and finishes, you’ll discover the balance between permanence and portability for your designs.
Design Process Essentials: Ideas, Mood Boards, and Color Strategy
A strong design process begins with idea generation and a mood board that captures images, textures, and color palettes aligned with your message. Embroidery patch design ideas flourish when shapes—classic circles or shields, or bold custom silhouettes—are explored early in sketching before digitizing.
Color strategy matters for cohesion and cost. Limiting your palette to a handful of representative colors helps keep production affordable while ensuring patches read clearly from a distance. This planning phase lays the groundwork for efficient machine embroidery tips and consistent results across batches.
Digitizing and Stitch Techniques: Turning Artwork into Stitch-Friendly Formats
Digitizing translates your artwork into machine-readable stitches, balancing underlay, stitch order, and color stops to achieve clean edges and durable patches. If you choose to digitize, start with simple shapes and gradually add detail, remembering that you don’t need to master every technique at once.
Important stitch types include satin stitch for outlines and fills, running stitches for delicate lines, and underlay to stabilize the surface. Edge finishing options like merrowed borders or heat-seal backings affect the final look and durability, while choosing between machine embroidery tips and hand-stitching approaches depends on equipment and your production goals.
Prototyping and Production: From Samples to Small-Batch Runs
Prototyping is a crucial step to evaluate how designs translate from screen to fabric. Create test patches, view scale and spacing with paper mock-ups, and run embroidery tests on scrap fabric to gauge stitch density and edge behavior. Prototyping helps identify issues early, saving fabric and time.
During prototyping, test backing and adhesive options to meet your desired use—iron-on for temporary patches, Velcro for removable options, or sew-on for permanent wear. A well-documented prototype phase also confirms colorfastness and wash durability, laying the groundwork for a repeatable production workflow that scales from one-off DIY patches to small-batch runs.
Trends, Personalization, and Care: Keeping Your Patches Fresh with Trendy Embroidered Patches
Patch design trends emphasize personalization, sustainability, and small-batch production, making Designing Your Own Embroidered Patches more appealing to creators and buyers alike. Personalization—initials, names, or custom logos—resonates with consumers seeking unique DIY embroidered patches that feel custom-made.
Playing with theme-based collections, micro patches, and hybrid finishes adds depth and tactile interest. Embracing digital-to-physical synergy helps planners use color palettes and shapes more effectively before stitching. Care instructions are essential for customers, so clear washing guidance ensures patches stay vibrant and durable, supporting a sustainable and scalable patch making journey.
Frequently Asked Questions
What core patch making tools and supplies do I need for Designing Your Own Embroidered Patches as a beginner?
Start with a solid, affordable kit: tear-away or cut-away stabilizers, sturdy fabric for the patch surface, a compatible backing, a reliable hoop, embroidery threads in a small color palette, and appropriate needles. Add cutting tools and an edge finish (merrowed edge or satin stitch) plus backings (iron-on, Velcro, or sew-only) and, if needed, digitizing or design software. A simple, scalable setup helps you focus on design quality and consistency as you grow your patch-making skills.
Which embroidery patch design ideas should I explore when Designing Your Own Embroidered Patches?
Begin with clear, simple embroidery patch design ideas: start with basic shapes (circles, shields) and build with a limited color palette that conveys your message. Create a mood board of images, textures, and colors and sketch potential silhouettes to guide the stitching. As you gain confidence, you can expand to more complex artwork while keeping the design cohesive across your patch line.
How does digitizing relate to machine embroidery tips in Designing Your Own Embroidered Patches?
Digitizing converts your design into stitch data that a machine can read. When applying machine embroidery tips, start with simple shapes, plan the stitch order and underlay, and ensure even tension to avoid gaps or distortion. If you choose not to digitize in-house, hiring a digitizer or using beginner-friendly software can still yield clean, stitch-ready files.
In the DIY embroidered patches workflow, how should I prototype to validate designs?
Prototype by creating a few test patches to evaluate how the design translates from screen to fabric. Print a paper mock-up to gauge scale and spacing, run a small embroidery test on scrap fabric to assess density and edge quality, and try different backing options (iron-on, Velcro, sew-only). Prototyping helps catch issues early, saving material and time as you iterate.
How can I create trendy embroidered patches within Designing Your Own Embroidered Patches while staying cost-effective?
Lean into trends by combining personalization, mini patches, and modular designs that customers can mix and match. Use cohesive color stories and consider sustainable materials to appeal to conscious buyers. Start with one or two trend-driven designs, test audience response, and scale up gradually based on feedback.
What finishing touches and care guidance should I provide for patch making tools and supplies used in Designing Your Own Embroidered Patches?
Offer clear finishing options (merrowed edges for a polished look or clean edge finishes for sew-only patches) and provide care instructions to buyers (washing, ironing, and handling). Document consistent color codes and backings used to maintain quality across batches. Regularly inspect alignment, stitch density, and edge integrity during production to ensure durable, professional-looking patches.
| Area | Key Points |
|---|---|
| Tools, Materials, and the Patch-Making Toolkit | – Stabilizers: tear-away or cut-away depending on fabric and patch size; heavier fabrics may use cut-away for durability; lighter textiles may use tear-away after finishing. – Fabric and backing: sturdy surface material (felt, twill, canvas, leather) and backing that won’t peel or fray. – Hoop and frame: steady hoop to prevent shifting; larger patches benefit from bigger hoops. – Embroidery threads and needles: polyester or rayon threads; sharp or microtex needles suitable for fabric/machine. – Cutting tools and edge finish: scissors or rotary cutter; merrowed edge or satin-stitch finish for a polished look. – Backing options: iron-on, Velcro, or sew-only backings depending on temporary vs permanent patches. – Digitizing or design software: optional for original artwork; ranges from professional to hobbyist tools. |
| Design Process: From Idea to Embroidered Patch Ideas | – Start with ideas and mood boards to align with the message. – Sketch potential shapes (circles, shields, or custom silhouettes). – Translate hand-drawn ideas into stitch-friendly formats; digitize designs for machine embroidery. – Limit palette to a few representative colors for cohesion and cost control. – Pair bold accents with neutral bases for legible patches from a distance. |
| Digitizing and Stitch Techniques | – Satin stitch for outlines; fill stitch for color areas; ensure even tension to avoid gaps. – Running stitch for fine lines; keep stitch length consistent. – Underlay stitches to stabilize surface and improve edge definition. – Edge finishing: merrowed edge for a factory-like finish; heat-seal for temporary patches; sew-only relies on fabric edge and stitching. |
| From Concept to Sample: Prototyping Your Patches | – Create test patches to evaluate design translation to fabric. – Use paper mocks to visualize scale and spacing; run small embroidery tests to gauge density and edge roughness. – Test backing options (iron-on, Velcro) for temporary vs permanent patches. – Check colorfastness and wash durability during prototyping. |
| Production: Fine-Tuning Your Process | – Establish a standard workflow: finalize design/color palette; prepare materials/backing; digitize and test; run a sample; cut and finish; apply backing. – Maintain quality through alignment, hoop accuracy, stitch density, and edge integrity. – Address common issues early (edge fraying, color bleeding) to save resources. |
| Trending Techniques: Trends in Patch Design | – Personalization and customization with initials, names, or logos. – Theme-based collections (nostalgic motifs, nature, geometric abstractions) with cohesive color stories. – Sustainable materials (organic fabrics, recycled stabilizers, eco-friendly threads). – Micro patches and modular designs for easy layering and cost control. – Hybrid finishes (embroidery with appliqué or patchwork textures). – Digital-to-physical planning to align colors and shapes with real products. |
| Practical Tips and Common Pitfalls | – Tension and thread choice: adjust top/bobbin tension; use quality thread suited to fabric. – Stabilizer selection: choose tear-away for lighter patches and cut-away for denser embroidery. – Edge finishing and pill prevention: merrowed edge for machine patches; clean fabric edge and secure back for sew-only patches. – Color management: maintain a defined palette; document color codes. – Cleaning and care: provide care instructions; ensure patches withstand washing. |