
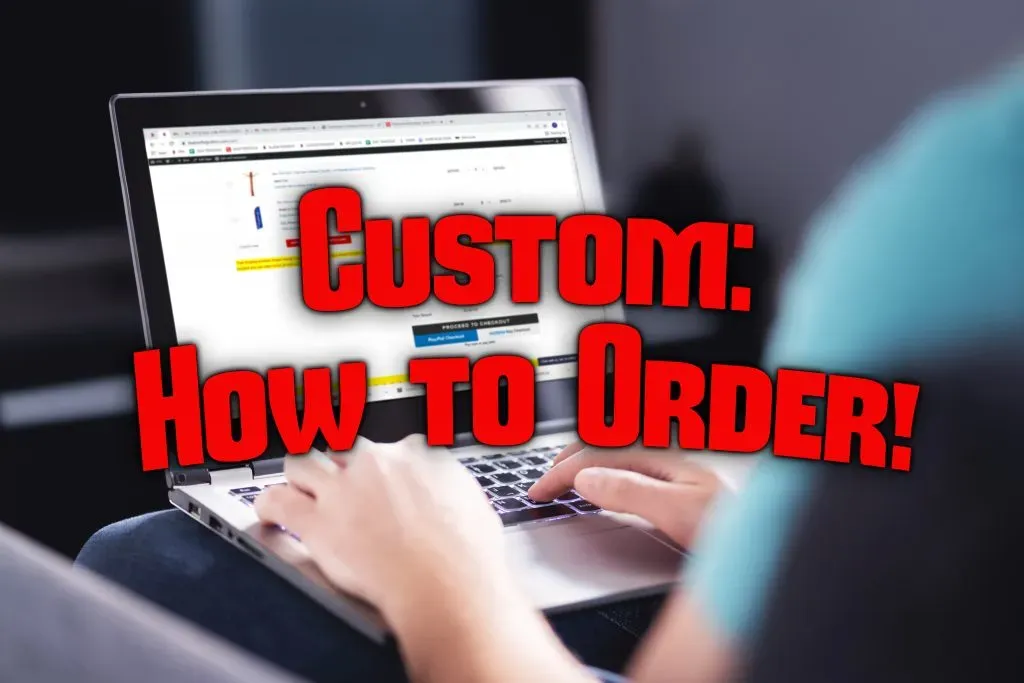
Step-by-Step Custom Banner Ordering makes what could be a headache feel like a clear, doable process from concept to display. When you plan with purpose, you can save time, cut costs, and achieve professional results that boost your event, store, or brand presence, which aligns with custom banner ordering best practices. This guide walks you through essential steps, including how to order a roll up banner, without the stress. Knowing what to specify and how to communicate with printers helps you avoid missteps that cause delays and back-and-forth. By following these steps, you adopt a step-by-step banner ordering mindset that keeps projects predictable and outcomes focused.
From a planning perspective, successful banner projects begin with clear goals, audience insight, and a well-documented workflow for designing and ordering banners. By aligning materials, finishes, and production timelines with your event schedule, you reduce the risk of overrun, ensure consistent branding, and deliver a polished final display. The process is flexible: you can choose between fixed, large-format banners and portable options, weighing durability against reuse and transport needs. Keeping a shared file of proofs, color targets, and exact dimensions helps printers execute quickly and minimizes back-and-forth, which is at the heart of a true step-by-step banner ordering approach. In practice, thinking in terms of outcomes, budget constraints, and long-term value makes it easier to decide when to refresh graphics or switch formats. Understanding the banner printing steps and linking them to measurable goals keeps the project moving smoothly from concept to display.
Define Your Banner Goals and Audience for Maximum Impact
To design a banner that delivers results, start by clarifying your goals and identifying who will see the banner. Are you promoting a sale, introducing a product, or guiding visitors to your booth? Define capture points, ideal viewing distance, and the venues where it will live (trade show, storefront, conference room). This focus informs banner size, orientation, typography, and messaging, reducing rework later in the banner printing steps.
Understanding your audience helps you tailor the messaging and visuals for quick comprehension. Whether you choose a custom banner or a roll-up banner, align features with audience needs and your event objectives. This planning is a core part of custom banner ordering and designing and ordering banners, ensuring that every choice serves a measurable outcome.
Step-by-Step Custom Banner Ordering: Choosing Between Custom and Roll-Up Banners
Step-by-Step Custom Banner Ordering: When weighing a custom banner against a roll-up banner, consider location, reuse, and setup time. Custom banners offer larger formats and lasting presence, while roll-up banners provide portability and quick deployment. Clarify where the display will be used most and how often you’ll reuse it to choose the right path.
For frequent events or travel-heavy setups, the roll-up banner can reduce logistics headaches and keep costs predictable per event. If you want a premium look and longer life, a custom banner may justify the higher upfront cost. This decision is part of the broader banner ordering process and ties into how to order a roll up banner and planning within step-by-step banner ordering.
Gather Assets and Technical Specs Early for Flawless Printing
Gather assets early: logos, taglines, high-res imagery, and brand colors. Collect required fonts and confirm whether you need a single-panel or multi-panel layout. Getting assets lined up now minimizes back-and-forth during the design phase and keeps you aligned with the banner printing steps.
Also lock in technical specs: file formats, color mode, resolution, and bleed. Request dielines or templates from printers so your design fits the printable area. By preparing assets and specs as part of the banner ordering workflow, you reduce surprises and speed production and support designing and ordering banners.
Materials, Finishes, and Durability: Pick the Right Substrate
Materials determine look, durability, and weather resistance. Vinyl is durable for indoor and outdoor use, while fabric delivers a premium appearance with a softer finish. Choose substrates that match venue conditions and expected wear, and remember that finishes like grommets or pole pockets affect installation.
Consider finishing options that support stability and transport, such as cradle bases for roll-ups or frames for wall-mounted banners. Your material and finish choices should align with your environment and your long-term reuse plans, a key aspect of designing and ordering banners.
Artwork and Design: Keeping Brand Identity Consistent Across Banners
Artwork should reflect your brand identity with consistent colors, typography, and imagery. If you lack in-house design capacity, work with a designer or the printer’s design service to maintain quality within the Step-by-Step Custom Banner Ordering framework.
Ensure a clear headline, supporting subhead, and a strong call to action that fits within printable areas. Use high-resolution assets and legible fonts from a distance, and consider accessibility standards in color contrast. This stage ties directly into designing and ordering banners to ensure a cohesive brand experience.
Proofing, Approvals, and Delivery: Timelines that Keep Projects on Track
Proofing and approvals are where many projects hinge on precise feedback. Request digital or physical proofs to verify color, typography, and layout before production. If you are ordering multiple banner formats, obtain separate proofs for each to avoid cross-format mismatches.
Establish a realistic timeline with print deadlines and delivery windows, and build buffer for rounds of revisions. Clear communication and documented approvals keep the Step-by-Step Custom Banner Ordering process on track and help you avoid last-minute delays.
Frequently Asked Questions
What is Step-by-Step Custom Banner Ordering and why should you follow it?
Step-by-Step Custom Banner Ordering is a practical workflow that guides you from defining goals to installing banners. By following it, you can choose the right banner type, gather the right assets, and communicate clearly with printers, reducing back-and-forth and delays. When you plan with intent, you align design and messaging with measurable outcomes for events, stores, or brand campaigns.
In Step-by-Step Custom Banner Ordering, how do I decide between a custom banner and a roll-up banner? (how to order a roll up banner)
If you’re deciding between a custom banner and a roll-up banner in Step-by-Step Custom Banner Ordering, consider space, reuse, durability, and budget. Roll-up banners are portable and quick to set up, ideal for recurring events, while a custom banner offers larger print sizes and longer life but higher upfront costs. Choose based on venue, frequency, and goals to maximize impact and minimize complexity.
What assets and specs should I gather as part of Step-by-Step Custom Banner Ordering?
As part of Step-by-Step Custom Banner Ordering, gather logos, taglines, high-resolution images, brand colors, and fonts early. Define the banner size and orientation, and whether you need a single panel or multiple panels. Confirm printer specifications: preferred file formats (PDF, TIFF, AI), color mode (CMYK for print), resolution (300 dpi), and bleed. If available, request a dieline or template to keep designing and ordering banners on track.
What common mistakes in banner printing steps does this workflow help avoid?
Common mistakes in banner printing steps include missing bleed, low-resolution artwork, color mismatches between proofs and final print, and incorrect sizing. This Step-by-Step workflow emphasizes accurate proofs, proper bleeds, and verified dimensions before production to reduce delays and reprints.
How does Step-by-Step Custom Banner Ordering handle online ordering and delivery for a banner project?
This workflow guides online ordering and delivery logistics by using a checklist: provide final artwork, print quantity, banner type, size, material, finishes, and shipping details. For roll-up banners, specify height and width and orientation. Choose a delivery window that fits your event, consider rush service if needed, and track the order to avoid last-minute delays.
What tips from designing and ordering banners can improve the Step-by-Step Custom Banner Ordering process?
For designing and ordering banners, keep messaging clear and legible from a distance: use bold headlines, high-contrast colors, and a simple call to action. Maintain brand consistency, request color-accurate proofs, and verify margins and trim. Measure your display space early and consider accessibility standards to ensure a smooth Step-by-Step Custom Banner Ordering workflow.
| Key Point | What it Means | How It Applies to Step-by-Step Custom Banner Ordering |
|---|---|---|
| Core idea | Plan with intent to minimize back-and-forth and aim for outcomes you can measure. | Foundation of the process: design with purpose and measurable goals to guide decisions. |
| Main benefits | Save time, cut costs, and achieve professional results that boost event, store, or brand presence. | Every step seeks efficiency and impact, aligning actions with desired outcomes. |
| Process approach | Step-by-step workflow from goal definition to delivery and installation. | Guided sequence (1 through 10) to structure decisions and communication with printers. |
| Banner types | Choice between a custom banner and a roll-up banner. | Understand trade-offs (durability, size, portability, cost) to select the right type for goals and space. |
| Assets and specs | Gather logos, taglines, high-res images, fonts; define size, orientation, panels; obtain printer specs. | Prepare print-ready files and ensure compatibility with printer requirements (formats, color mode, dpi, bleeds). |
| Materials and finishes | Choose substrates (vinyl, PVC, fabric) and finishing options (grommets, sleeves, cradle, etc.). | Material decisions affect appearance, longevity, weather resistance, and maintenance. |
| Artwork and design | Ensure brand-consistent design with legible typography and clear call to action. | Align design with brand identity and accessibility standards; plan for print-safe layouts. |
| Proofing and approvals | Request proofs, review color, typography, and margins; plan for revisions and timelines. | Establish a proofing schedule and buffer time for changes to avoid delays. |
| Ordering and delivery | Online ordering, clear checklists, accurate shipping windows, and rush options. | Communicate needs clearly, track progress, and coordinate delivery with event schedules. |
| Common pitfalls | Bleed errors, low-resolution art, color mismatches, mis-sizing, and misalignment with venue. | Mitigate by providing print-ready files, proofs, and precise measurements early. |
| Budgeting and value | Consider long-term value, not just upfront cost (durability, lifecycle, maintenance). | Balance upfront costs with expected usage and replacement needs for recurring events. |