
Embroidered branding establishes the tactile tone of a brand, turning apparel and gear into a living part of your message. When done with care, it signals quality and consistency that customers can feel as well as notice, elevating everyday pieces into ambassadors. From logo embroidery techniques to careful digitizing and thread selection, the process yields a crisp, durable mark across fabrics and finishes. By aligning with clear brand guidelines and production standards, you ensure legibility, color fidelity, and reliable performance at scale. Whether you’re outfitting a team, launching product lines, or promoting events, the right embroidery approach boosts recognition and trust for years.
Another way to frame this topic is to consider branding through stitch-based adornment on textiles, where form follows function. Here, the focus shifts to digitizing accuracy, stabilizers, and color control, ensuring the mark remains legible and consistent across garments. In LSI terms, readers respond to related concepts such as brand identity through needlework, premium finish via satin stitches, and durable application across caps, jackets, and bags. By discussing these alternative angles, designers and suppliers gain a holistic view of how sequence, placement, and materials influence perception. Ultimately, this broader framing helps align creative intent with practical constraints, delivering a trusted, cohesive look across product lines.
1) The Core Value of Embroidered Branding: Perception, Durability, and Brand Equity
Embroidered branding goes beyond surface decoration; it creates a tactile signal of quality that customers can feel as well as see. When designed and executed well, the logo becomes a durable ambassador for the brand, reinforcing trust and recognition with every wear and wash. This is the essence of using embroidery branding tips to elevate product perception, ensuring that the first impression is backed by lasting detail and craftsmanship.
Understanding the impact of logo embroidery techniques helps teams plan where to place, how to scale, and which threads to use for maximum legibility and premium feel. By aligning embroidery decisions with brand guidelines, you create a cohesive identity across products—from caps to jackets to bags—so customers experience a consistent premium impression item after item.
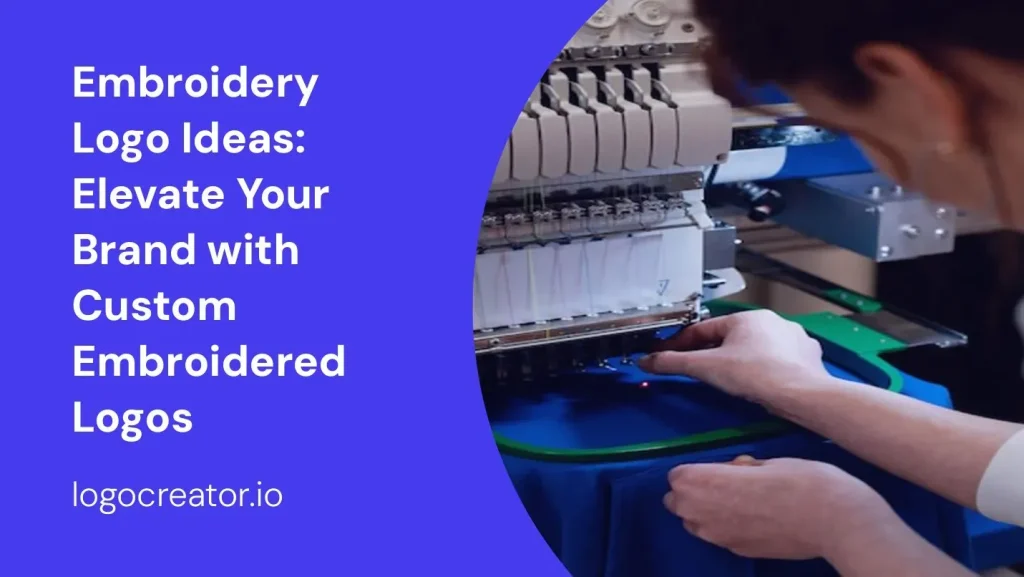
2) Digitizing for Precision: From Vector to Stitch Language
Precision in embroidery starts with digitizing, the process that translates a vector logo into stitch language that a machine can sew. High-quality digitizing considers stitch counts, tie-ins between elements, and the right balance of density to preserve clarity. This is where logo embroidery techniques meet practical constraints, shaping how the final logo reads at small sizes and from a distance.
A well-crafted digital file sets the stage for reliable reproductions. By planning for scale, grouping color blocks, and specifying stabilizers, teams can reduce color changes and misregistration. Embedding guidelines like the need for a DST/EXP/PXF format and density notes helps vendors deliver consistent results—an essential element of custom embroidered logo guidelines.
3) Color, Thread, and Finish: Mastering Thread Color Matching Embroidery
Color fidelity is a cornerstone of professional embroidery. Thread color matching embroidery requires considering fabric background, thread variability, and lighting conditions to maintain a consistent brand look. Polyester is a common choice for durability and colorfastness, while metallics or specialty threads can add prestige if used with the right needle and tension.
Finish and edge handling also influence perceived quality. Satin stitches for bold outlines, fill stitches for large areas, and careful underlay contribute to crisp edges and minimal texture distortion. By standardizing color palettes with Pantone mappings and documenting approved thread shades, teams ensure a uniform appearance across production lots.
4) Placement, Sizing, and Fabric: Getting the Logo to Read on Every Item
Placement rules help logos read clearly across garment types and viewing distances. Chest placements, sleeve logos, and hat front panels each have optimal heights and proportions that maximize legibility without overwhelming the item. Establishing these rules early reduces misalignment and ensures repeatable results across lots.
Fabric type and stability drive how embroidery performs in real life. Wovens often hold crisp edges, while knits and stretch fabrics require stabilizers and perhaps smaller satin stitches to prevent distortion. Selecting backing that supports the fabric without show-through is crucial for a durable, clean finish.
5) Custom Embroidered Logo Guidelines to Share with Vendors
Clear guidelines are the backbone of consistency. Custom embroidered logo guidelines should cover brand colors, Pantone-to-thread mappings, approved logo variants for each product category, and precise size and placement standards. Sharing these details with vendors helps ensure every unit aligns with the brand’s visual identity.
In addition to color and size, specify backing recommendations, lead times, and sample approval steps. Documented quality checks for registration, edge sharpness, and color fidelity reduce rework and speed up production. When vendors operate from a shared set of guidelines, the result is consistent embroidery that reinforces brand equity.
6) Quality Assurance, Maintenance, and ROI: Ensuring Longevity of Embroidered Branding
Quality assurance turns a good embroidery program into a durable branding system. Pre-production samples, test washes, and tactile edge checks help identify issues before full-scale production. By tracking outcomes and adjustments, teams create a knowledge base that informs future runs and supports ongoing Embroidered branding integrity.
Maintenance matters as much as the initial production. Following care labels, turning garments inside out during washing, and storing items away from sunlight preserve color and stitch integrity. A well-implemented program—supported by embroidery branding tips and a robust digitizing workflow—delivers a lasting impression that translates into brand loyalty and measurable ROI.
Frequently Asked Questions
What is Embroidered branding and how do logo embroidery techniques enhance it?
Embroidered branding is a strategic way to build brand presence through tactile logos. Logo embroidery techniques add depth, legibility, and durability, translating a brand identity into stitch language that reads clearly at multiple sizes and on various fabrics. Key steps include digitizing, selecting appropriate satin and fill stitches, managing density, and ensuring color accuracy, so your embroidered mark communicates quality across all products.
How can I achieve precision embroidery logo details in Embroidered branding?
A precision embroidery logo results from careful digitizing, stitch choices, and consistent tension. Start with clean vector art, use satin stitches for outlines, fill stitches for solid color, and underlay to stabilize fabric. Monitor stitch density and apply solid color management to keep the logo legible at small sizes and on different fabrics.
What embroidery branding tips help optimize thread color matching embroidery and overall color management?
Follow embroidery branding tips such as mapping brand colors to Pantone-matched threads, standardizing color across production lots, and selecting the right thread type (polyester for durability, optional rayon for sheen). Plan color blocks during digitizing, test on similar fabrics, and keep a controlled color-management workflow to maintain consistency.
What are the essential custom embroidered logo guidelines for vendors in Embroidered branding?
Provide clear custom embroidered logo guidelines: brand colors mapped to thread codes, approved logo variants by product category, size and placement standards, backing recommendations, QA checks for registration and edge sharpness, plus lead times and sample approval steps to reduce rework.
How do you ensure durability of Embroidered branding across fabrics with proper stabilizers and thread choices, including thread color matching embroidery?
Choose stabilizers appropriate for the fabric (tearaway for delicate knits, cutaway for heavier fabrics) and select compatible needle sizes and tension. Avoid excessive stitch density, test wash scenarios, and maintain consistent thread colors and finishes to preserve edge quality and color fidelity over repeated wear and washing.
What placement and sizing guidelines should be used in Embroidered branding to ensure a consistent logo, referencing logo embroidery techniques?
Establish placement rules by garment type (e.g., chest 0.75–1.5 inches tall for polos/shirts, sleeve 0.75–1 inch, hats front panels) and specify minimum/maximum logo sizes. Use templates or jigs to lock alignment across lots. These practices align with logo embroidery techniques and support a cohesive brand look.
| Aspect | Key Points |
|---|---|
| Introduction and Benefits | Embroidered branding is more than just adding a logo to a garment or accessory; it’s a strategic investment in a brand’s tactile presence and communicates quality, consistency, and attention to detail that customers can feel as well as see; it sets the foundation for durable branding across garments and applications. |
| Core Idea and Perception | The core benefit is perception: precise logo detail communicates reliability and attention to detail, influencing customer trust and recall; it’s versatile across caps, polos, bags, jackets, labels, and patches for a cohesive brand identity. |
| Key Techniques for Logo Details | Digitizing for precision; Satin, Fill, Running/Column stitches; Underlay; Stitch density and coverage; Color management and thread choice; Placement and sizing guidelines. |
| Color and Material Considerations | Fabric type affects embroidery; Stabilizers; Thread color matching and finishes; Metallics or specialty threads may require different needle sizes and tension. |
| Digitizing and Design Guidelines | Start with a clean vector logo; Simplify details; Define color blocks; Plan for scale; Save formats with stitch counts and density notes. |
| Vendor Guidelines for Custom Embroidered Logos | Brand colors and Pantone-to-thread mapping; Approved logo variants for each product category; Size and placement standards; Backing and stabilizer recommendations; Quality checks; Lead times and sample approvals. |
| Placement, Sizing, and Alignment | Chest logos: 0.75–1.5 inches tall on polos/shirts; Sleeve logos: ~0.75–1 inch; Hats/caps: smaller front-panel logos; Use templates or jigs for consistent alignment. |
| Quality Assurance: From Prototype to Production | Pre-production samples; Test washing and wear; Visual and tactile checks; Documentation of outcomes for future runs. |
| Cost, Lead Time, and ROI | Cost drivers include garment type, logo size, stitch count, number of colors, stabilizers; Lead times may be longer than heat-applied methods; ROI from durable branding and increased perceived value. |
| Case Study | A mid-sized outdoor brand digitized a simplified logo for high-contrast embroidery; standardized thread colors to Pantone; invested in stabilizers and pre-production samples; achieved consistent edge definition and color fidelity across 5,000 units, reinforcing brand image and reducing misregistration. |
| Maintenance and Longevity | Care: follow garment labels; turn inside out when washing; gentle cycles; store away from direct sunlight; periodically inspect embroidery and re-stitch as needed. |
Summary
Embroidered branding is a powerful way to communicate a brand’s identity through touch and detail. By embracing their logo embroidery techniques, implementing precision in digitizing, selecting the right threads and stabilizers, and adhering to clear custom embroidered logo guidelines, brands can achieve consistent, durable, and visually striking logos across products. The payoff is a lasting impression: a tangible mark of quality that customers recognize and trust, item after item.